




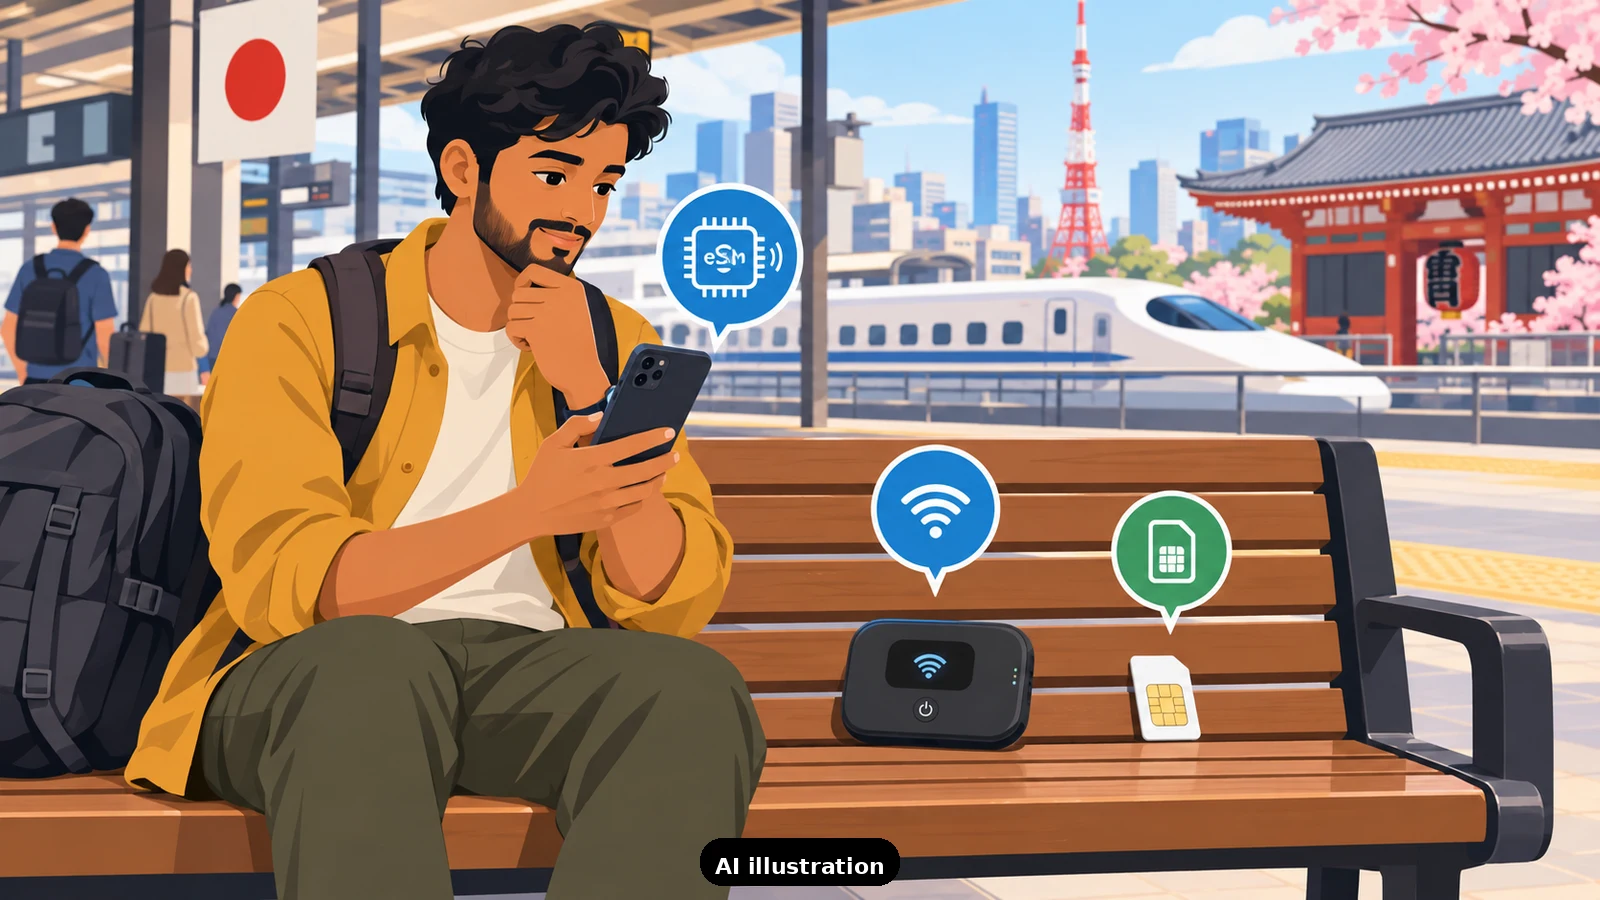
There is no single "best" way to get internet in Japan from India - there is a best combination, and for most travellers it is two things at once: your Indian SIM kept barely alive for bank OTPs and family calls, plus a cheap Japanese data connection for maps, translation and everything else. Here is how the four options stack up and how to combine them.
Carrier roaming (Jio, Airtel, Vi): the OTP lifeline. Indian operators sell international roaming packs that work in Japan - Jio structures its packs by zones and countries, and Airtel sells multi-day international packs - with prices and inclusions that change often enough that you should check your operator's app for current figures before deciding. Roaming's real value is not data (it is usually the most expensive data per GB of the four options) but continuity: your Indian number keeps receiving SMS, which is how your bank's OTPs, IRCTC logins and family WhatsApp calls reach you. One trap: on some packs, incoming SMS works only while roaming is active, and letting the pack lapse mid-trip can cut OTPs at the worst moment.
Travel eSIM: the data workhorse. For actual internet use, a prepaid travel eSIM riding Japanese networks (sold by Airalo, Nomad, Matrix and similar providers) is the sweet spot for most solo travellers and couples: noticeably cheaper per GB than roaming, instant setup by QR code, no pickup counter, and you keep your physical Indian SIM in the phone. Check two things before buying: your phone must support eSIM (most iPhones from XR onward and recent Pixels and Samsung flagships do), and the eSIM plan's validity should cover your full trip with a day of buffer. Most travel eSIMs are data-only, which is fine - Japan runs on data plus your Indian number for voice.
Pocket Wi-Fi: for groups and laptop workers. A rented pocket Wi-Fi router makes sense when three or more people (or heavy laptop users) share one connection - one device, unlimited or generous data, everyone tethers. The frictions are real: pickup and return at the airport counter or hotel, one more gadget to charge nightly, and if the group splits up, whoever carries the router is the only one online. For a couple with phones, two eSIMs usually beat one router.
Local Japanese SIM: rarely worth it for tourists. Buying a physical Japanese SIM at the airport or an electronics store works, but it means swapping out your Indian SIM (goodbye OTPs unless you carry a second phone), paperwork at some counters, and no advantage over an eSIM for a typical one-to-two-week trip.
The setup we recommend. Keep your Indian SIM active with the smallest roaming pack that covers SMS for your trip length. Add a travel eSIM sized to your days and habits - maps and translation are light, video calls and Instagram are not. In dual-SIM settings, set the eSIM as your data line and keep the Indian SIM for voice and SMS. Download offline Google Maps for your cities as insurance. And before flying, confirm your eSIM's APN installs correctly - do it on home Wi-Fi, not at the arrivals hall.
How TripKeeper helps. On our founder-hosted Japan departures, the pre-departure checklist walks every traveller through exactly this setup - which pack to keep alive for OTPs, which eSIM to buy, and the dual-SIM settings to check - and the tour leader helps anyone whose phone misbehaves on arrival. Planning independently? The "Plan your trip" inquiry gets you the same checklist, and our support team stays reachable if connectivity breaks mid-trip.

A Miranda House graduate and lawyer who traded courtrooms for slow travel. Cheshta travels with the batches we host ourselves, with a soft spot for travelling alongside elders.
Planning your next trip?
We'll handle insurance, hotels, airport assistance and the itinerary — the same way we do it for every trip.
Questions on this article
asked by readers, answered by us
Was this helpful?
one tap, no sign-up